Large Enterprise
Omnichannel commerce, billing and payments solutions for large merchants and corporates
Note: The Force menu is disabled by default. If the transaction type is needed then it will need to be enabled in the file's card ranges for each card type.
| Steps | Screen | Notes |
|---|---|---|
| Touch [Other] | 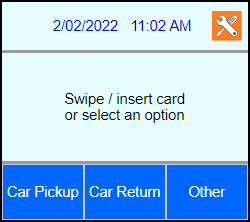 | Caution: Only use auth codes aquired through a pre-auth or the voice auth line. Do NOT accept auth codes from the card holder. |
| Touch [More] | 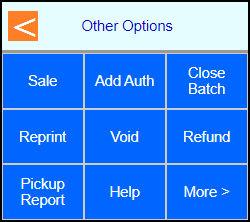 | |
| Touch [Force] | 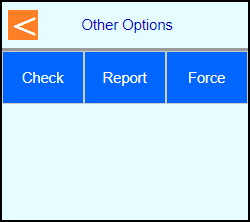 | |
| Touch [Sale] | 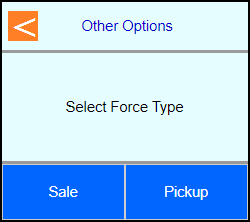 | |
| Key in your password. | 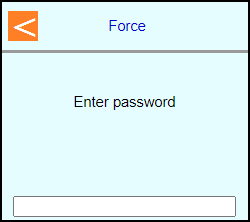 | Note: If password is unknown then you will need to contact the helpdesk. |
| Key in amount and press Enter | 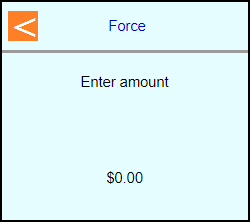 | |
| Swipe, Tap, or Insert the card into the terminal or type in the card number and press Enter | 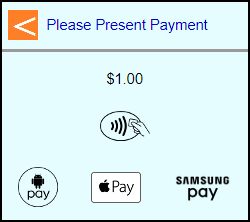 | |
| Note: Terminal may prompt if swiped: Select [Credit] | 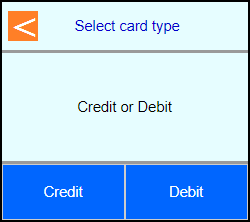 | |
| Note: If Clerk enabled then terminal will prompt: Enter Clerk number and press Enter | 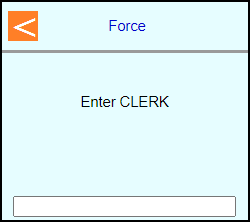 | |
| Key in Rental # and Press Enter | 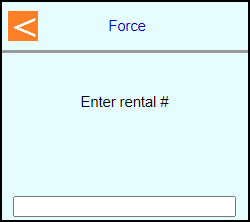 | |
| Key in rental class ID and press Enter | 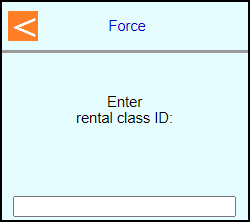 | |
| Key in # of Days and press Enter | 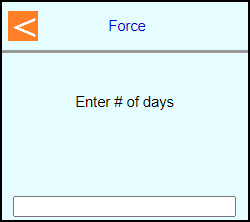 | |
| Key in pickup time and press Enter | 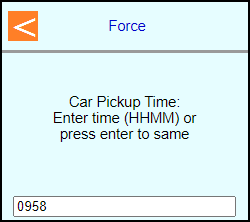 | |
| Key in pickup date and press Enter | 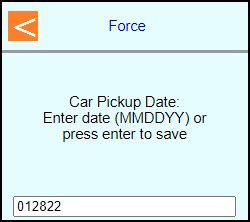 | |
| Key in car return time and press Enter | 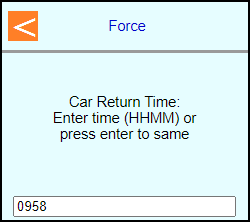 | |
| Key in car return date and press Enter | 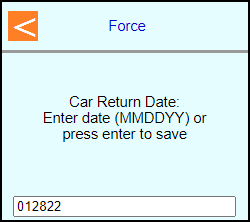 | |
| Key in renter's name and press Enter | 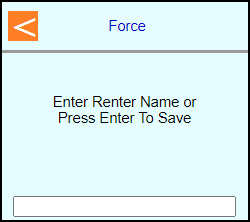 | |
| Type in auth code and press Enter | 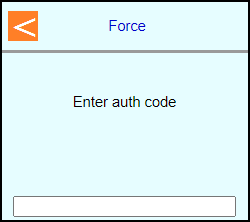 | |
| Note: If chip entry then the terminal will prompt to remove the card before it connects out to the host | 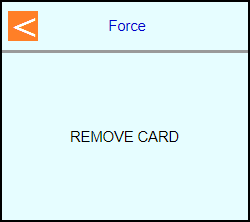 | |
| The terminal will communicate out | 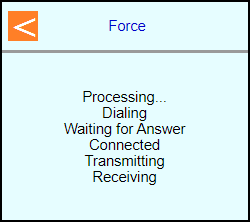 | |
| Select if a customer copy should print or not Touch [No] or Touch [Yes] | 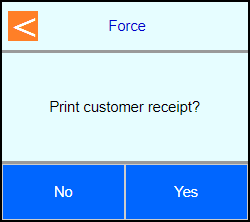 | |
| Terminal should go back to the main screen on its own | 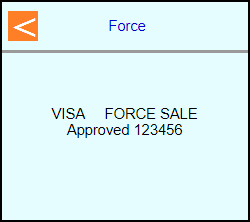 | |
 |